What do I need to sharpen my knife? With these tips, you'll achieve a razor-sharp knife.
Checklist for a successful sharpening experience
1. A little patience and practice
The biggest step is probably actually tackling the mysterious topic of sharpening and getting a sharpening stone. You don't have to be a Japanese knife smith; you can do it too. It's much easier than you think. Good things still take a little time! It is also a worthwhile step to take sharpening your favorite knife into your own hands. Even if it takes a little time initially to get a feel for it. This saves time and money, and on top of that, you always have a sharp knife at hand and are not dependent on other people.
2. Workspace
For the work surface, you logically need a sharpening stone with a non-slip sharpening stone base. It is best to place a damp newspaper, paper towel, or a non-slip mat under the base so that nothing slips and the sharpening slurry does not drip onto the table. Equally important is a cloth or paper towel to wipe the sharpening slurry from the blade to see if a burr has formed on the edge (more on this later). Alternatively, you can also place a container with water on the table to clean the blade of sharpening slurry.
3. Sharpening Guide
Especially for absolute beginners, the 503 Minosharp Clip On Sharpening Aid has proven its worth. You simply clamp it onto the spine of the knife, which ensures a stable angle. This is really practical when you are just getting a feel for sharpening and protects your blade from scratches. The special feature of this sharpening aid is that the inside is lined with plastic, thus protecting the blade.
4. Sharpening Stone(s)
Ideally, we recommend three Japanese sharpening stones with grits JIS240, JIS1000, and JIS6000.
"STOP!"
You're probably asking yourself, "Why do I need three stones? They must be crazy!"
Of course, you don't necessarily need three stones. It all depends on your demands!
If you want to give your knife a new edge from scratch, you should use a grit around JIS240 so that things move along and it doesn't turn into a meditation exercise, although that can be nice too ;). Once this hurdle is cleared, you work your way up to finer grits. It has proven effective to deburr the blade after the initial grind with a stone with a JIS1000 grit. If you only want to hone your knives, a single stone with a JIS1000 grit is sufficient. If you want an extra-fine edge, you should consider stones with a JIS6000 grit or higher. These stones "close" the edge and make it finer.
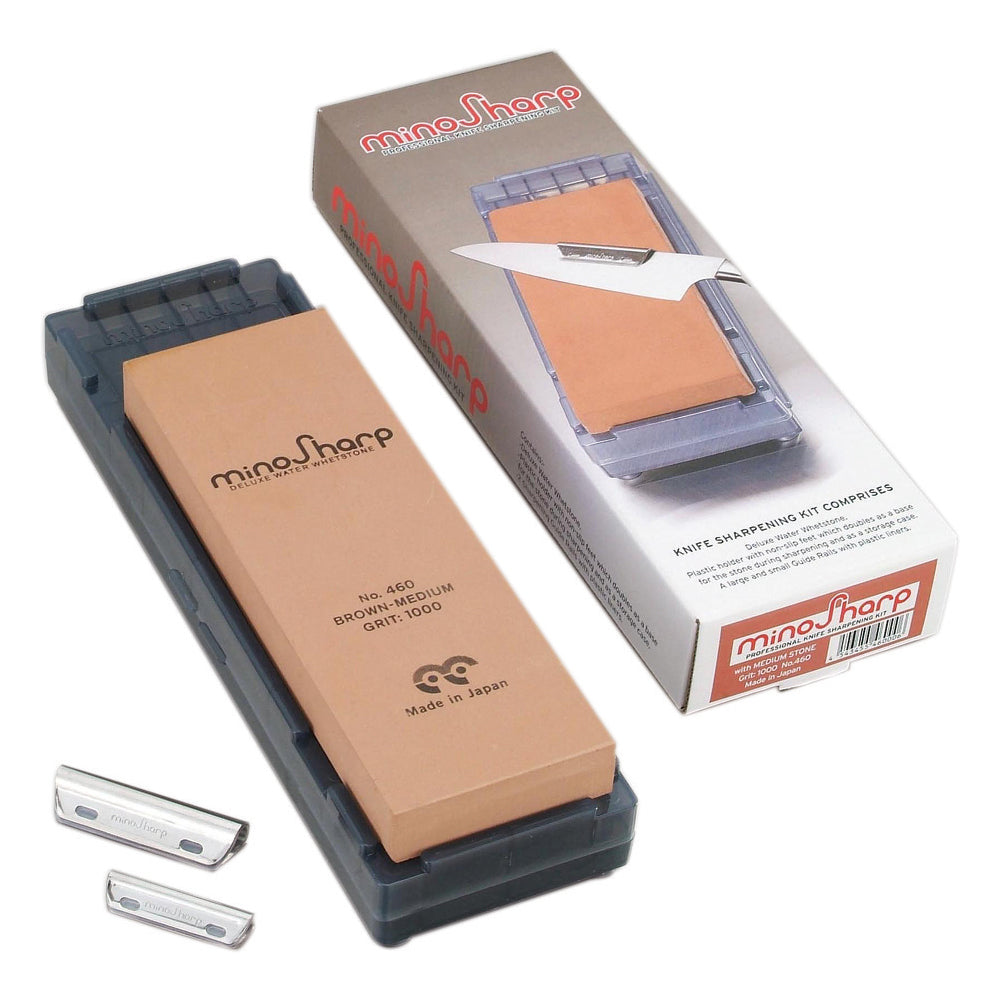
Minosharp Sharpening Stone 240 Grit
Minosharp Sharpening Stone 1000 Grit
Minosharp Sharpening Stone 6000 Grit
5. →Insider Tip: Nesmuk Leather Strop
To give your knife that famously notorious razor-sharp edge, you need a leather strop. The advantage of this four-sided leather strop is that if you own a sharp knife, you can easily keep it sharp for a very long time with the leather strop. And it's as easy as spreading butter on a slice of bread! See also our blog "Sharpening knives made easy..." https://shop.klingen-boutique.at/blogs/messer-abziehen-leicht-gemacht-mit-dem-lederstreichriemen-von-nesmuk-1/messer-abziehen-leicht-gemacht-mit-dem-lederstreichriemen-von-nesmuk"
6. Newspaper
Finally, you will need newspaper to test whether your knife is cutting again.
We hope you enjoyed our article. If you have any questions, we are happy to help.